this article will be a mostly informal report on my workflow for the silhouettes and silences series.
custom light painting
here's light painting 101: when you take a picture, camera sensors can be set to receive light for several seconds. if the camera 'shoots' while a light source moves inside the frame, the end picture will show a continuous light pattern. you just transformed time into space, congrats!
there's a small yet dedicated market for light painting equipment, but it costs money. also, most pieces of equipment have specific use, with the risk of becoming repetitive. also, the more equipment you carry, the less places you can go to easily.
i wanted an all-in-one solution which could handle many patterns. some of them would be designed to convey specific meaning, while others would mostly be eye-catching forms. i'd wanted for some time to fiddle with arduino and electronics, and this provided me with an excellent excuse to do so.
meet sara.

sara's name isn't an acronym. please don't upset her with this.
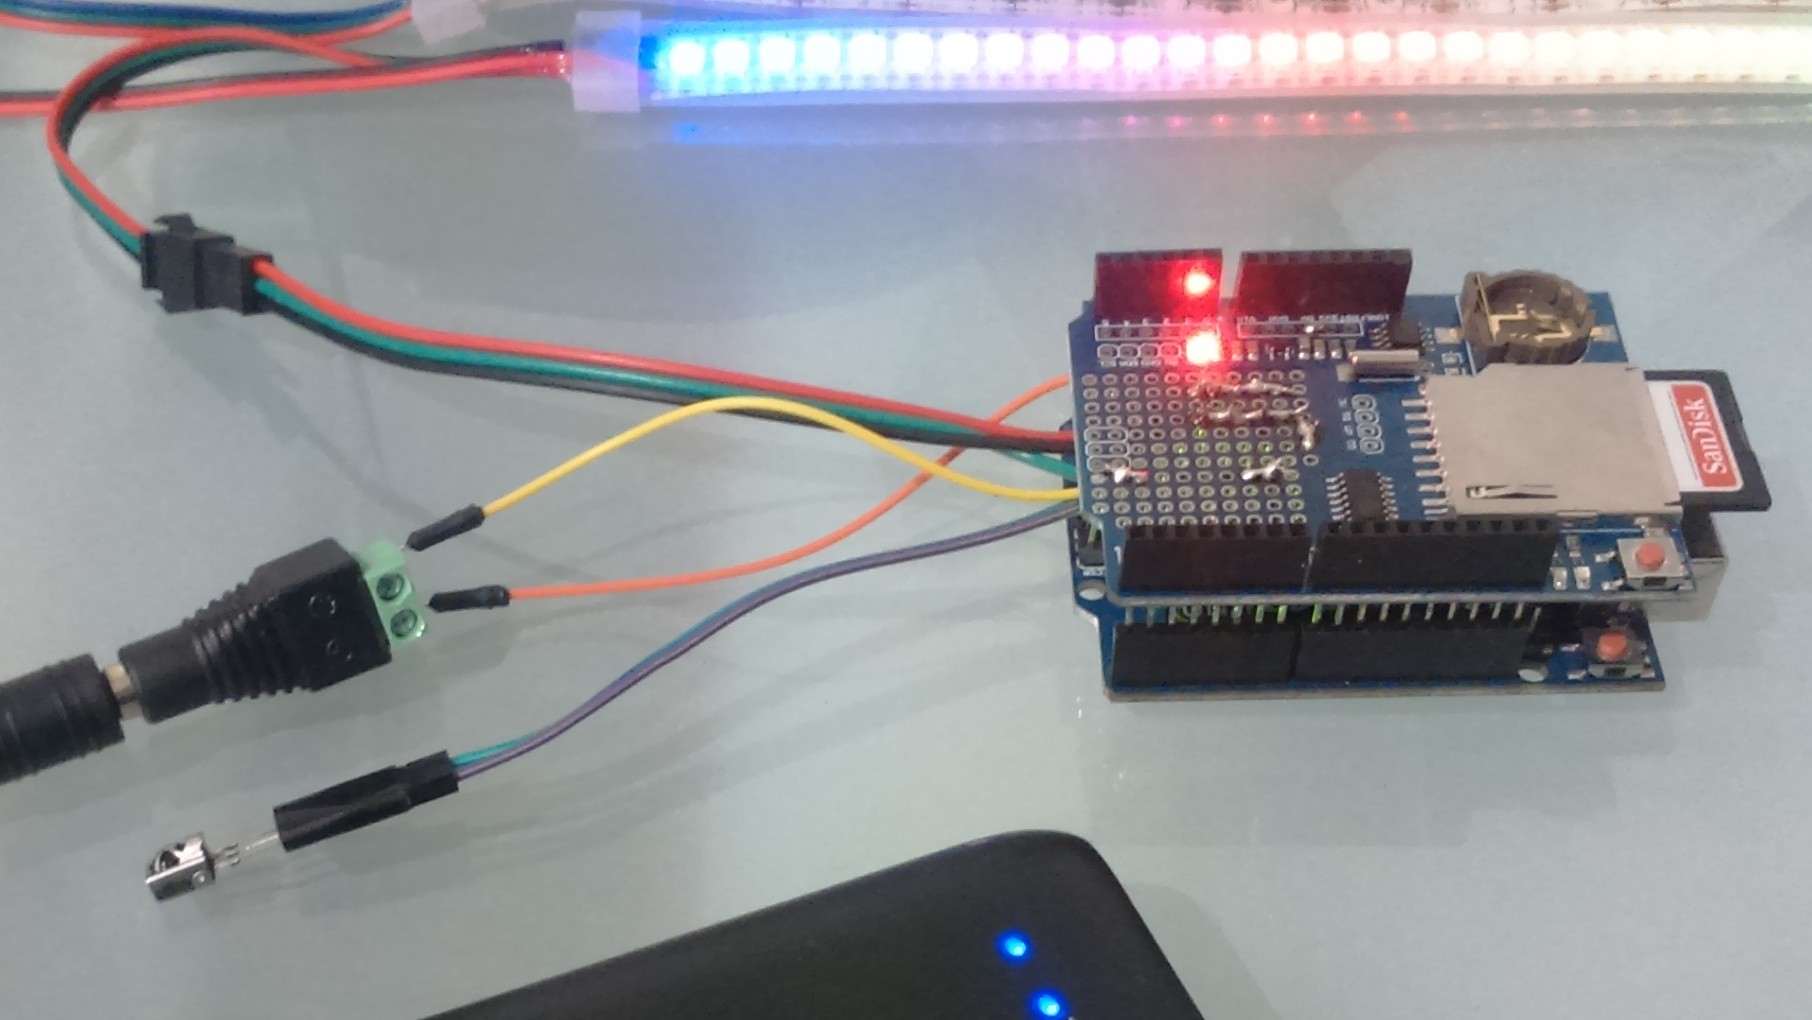
the original design comes from a cool adafruit project, though i departed from it on many aspects. every led from the 1m strip is independently controlled by a tiny computer running custom code from inside the metal casing. opposite this box comes a power bank with more than enough capacity (20.000 mAh). on the side, i put a small infrared receiver for retrieving remote commands.
the strip packs 144 leds. here's a closer look behind the white elastic band which softens the light. the paint's been worn out by quite a few adventures already!
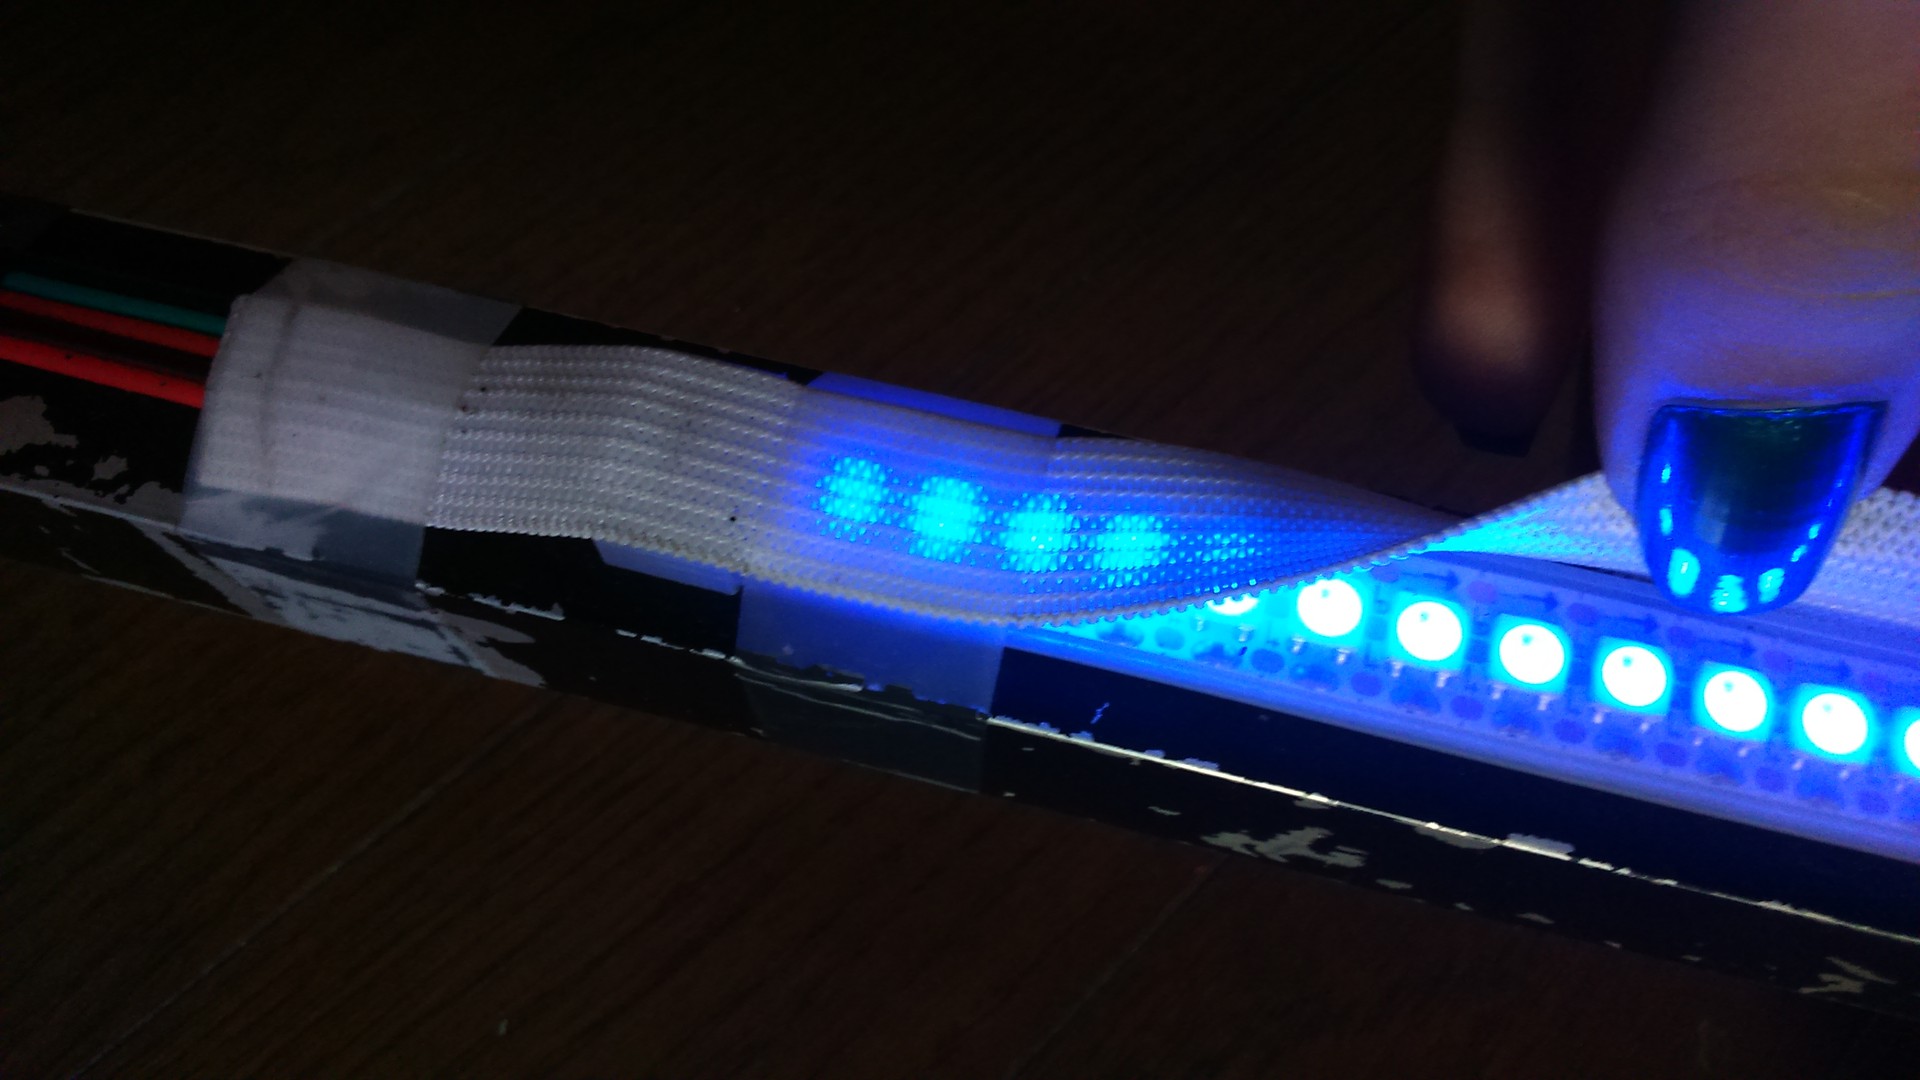
the 'tiny computer' inside the casing is actually an arduino uno, an ubiquitous yet powerful controller well-known to electronics hobbyists. sara combines the arduino with an SD shield. it enables her to load pictures, which i pre-processed into a custom format, from an SD card.
any selected picture is sent to the led strip with the appropriate signals, one column of pixels at a time. with lateral movement, pictures or text can be redrawn in full. it's a nice trick, although it may lack in spontaneity. i've come to prefer patterns generated on-the-fly, with random elements.
finally, commands from the remote add versatility to these patterns. obviously i can switch between patterns, but i can also speed them up or slow them down, increase or decrease the base intensity, change the base color hue, translate the pattern up the strip, fade out the leds at the extremes...
sara's friends
let's talk about equipment for a minute. i carry an entry-level, second-hand Canon EOS 350D. it's a 13-year-old model with a few limitations, yet i'm really pleased with the results. regarding lenses, for now the Canon EF-S 10-18mm f/4.5-5.6 IS STM is the only one i've used for light painting. it's a reliable wide-angle lens which gives me space to draw light patterns into larger scenes.
a lightweight amazon tripod provides a steady camera support, as required for long exposure photography. a camera remote switch like the Canon RS-60E3 is required for shooting in bulb mode, i.e. with shutter speed longer than 30 seconds. this draws much power from camera sensors, so i keep one extra battery. actually there are times when a third one would have been useful...
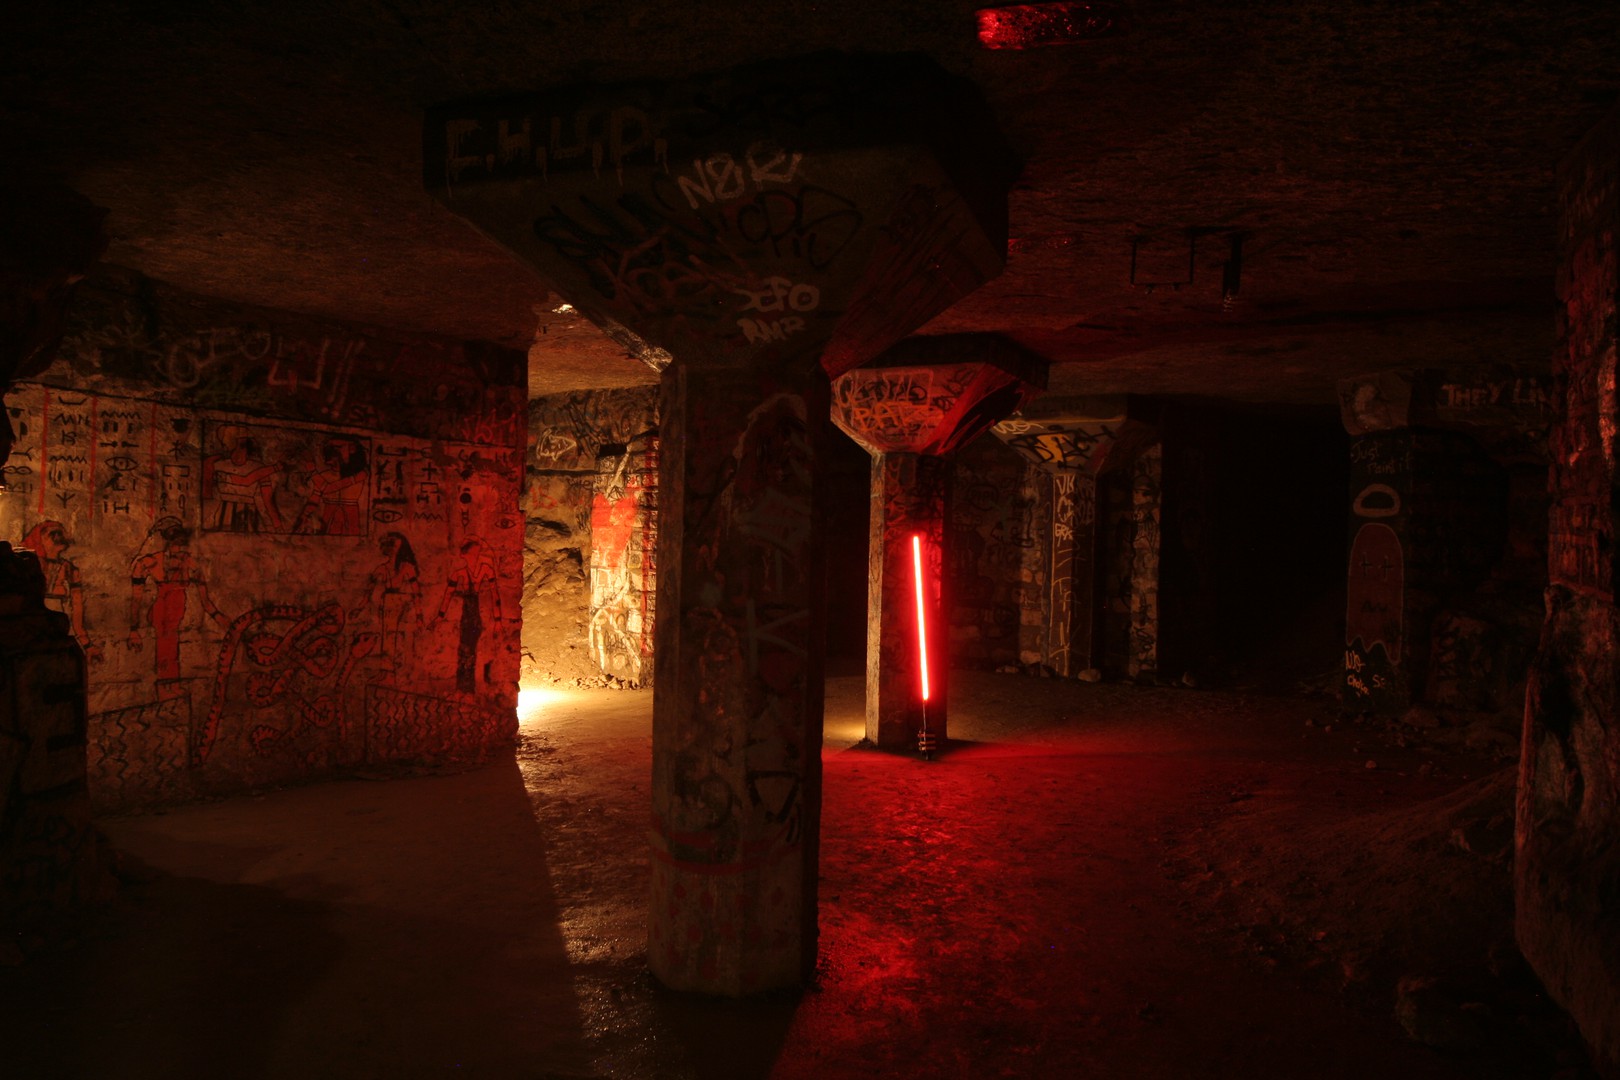
being 1m40 tall, sara needed a specific bag to be transported. the most convenient solution i found was getting a fishing rod holdall. it survived the flooded galleries and low ceilings of the catacombs of Paris, and i survived carrying it to the top of Mt. Kaya near Fukuoka, so i guess it was a good investment. only airport staff managed to tear up one of the straps, ugh. (but i sewed it back.)
it's shooting time
as i shot both series in locations i've already been to, for some pictures i had a precise idea of the scene i wanted to frame, while others were more improvised. once i decide where to stop, getting the frame right is the first step. then comes placing the pattern. the search for a complementary and meaningful painting may be direct, or it may be more of an incremental process.
candles, if used, are usually placed before the pattern is set. any other kind of light, like using sara for adding color from outside the frame, is usually decided at the very end of the composition.
maybe the hardest part is balancing all these distinct sources of light. i rarely stray from ISO 200 speed (higher speeds become too noisy) and maximum aperture (i'm in bad need of light). the main controls here are the exposure time, the intensity of sara's leds, and the speed of my own gestures.
adding to the time needed to scout places and design patterns, it may take 30 to 60 trials, and around 2 to 3 hours, to get a single picture right. exposure time has varied between 15 seconds and 2 minutes, making some trials more time-consuming than others. all in all, one night out roughly equates to three new pictures—and aching arms from wielding sara for hours, yay!
post-processing tricks
it may seem obvious, but i believe that heavy image post-processing would defeat the purpose of light painting. what's powerful to me is movement/life being inscribed, being scarred into a scene. so everything appearing on the final picture should be everything that appeared inside the frame.
yet, the fact that my entry-level camera cannot yield satisfying jpeg pictures on its own is reason enough to compromise with the 'no more, no less' spirit. and even if it did, i'd have to find the right jpeg parameters before every shot, which isn't a realistic thing to do with the overall process already being a time-consuming trial and error. that's why i shoot 'raw' pictures for later processing.

the picture on the left is the 'native' jpeg from the camera; the one on the right is a post-processed version. colors and outlines were slightly modified to make the trees look more ominous. the light pattern is less glowy, there's more contrast between distinct lines, and intersecting colors mildly spill into each other. it's meant to elicit a more distraught, uneasy feeling. at least it does to me.
there's a number of tools i've used consistently on darktable, with the most important ones allowing to set proper exposure and color balance. outlines can be sharpened, while low-light noise can be flattened. bent lines caused by the wide-angle lens can be straightened out.
most of the erroneous 'hot pixels' stemming from sensors overheating can be automatically removed. you can see one as a tiny red dot in the bottom left corner of the picture above, but there's actually a few hundreds of smaller ones whenever exposure lasts more than a few seconds. unsightly details of a somewhat bigger size may also be manually covered (seems like cheating, though).
hopefully your curiosity's been quenched by now. if not, you can still ask in the comments below!
Archived captures for external links featured in this post :